
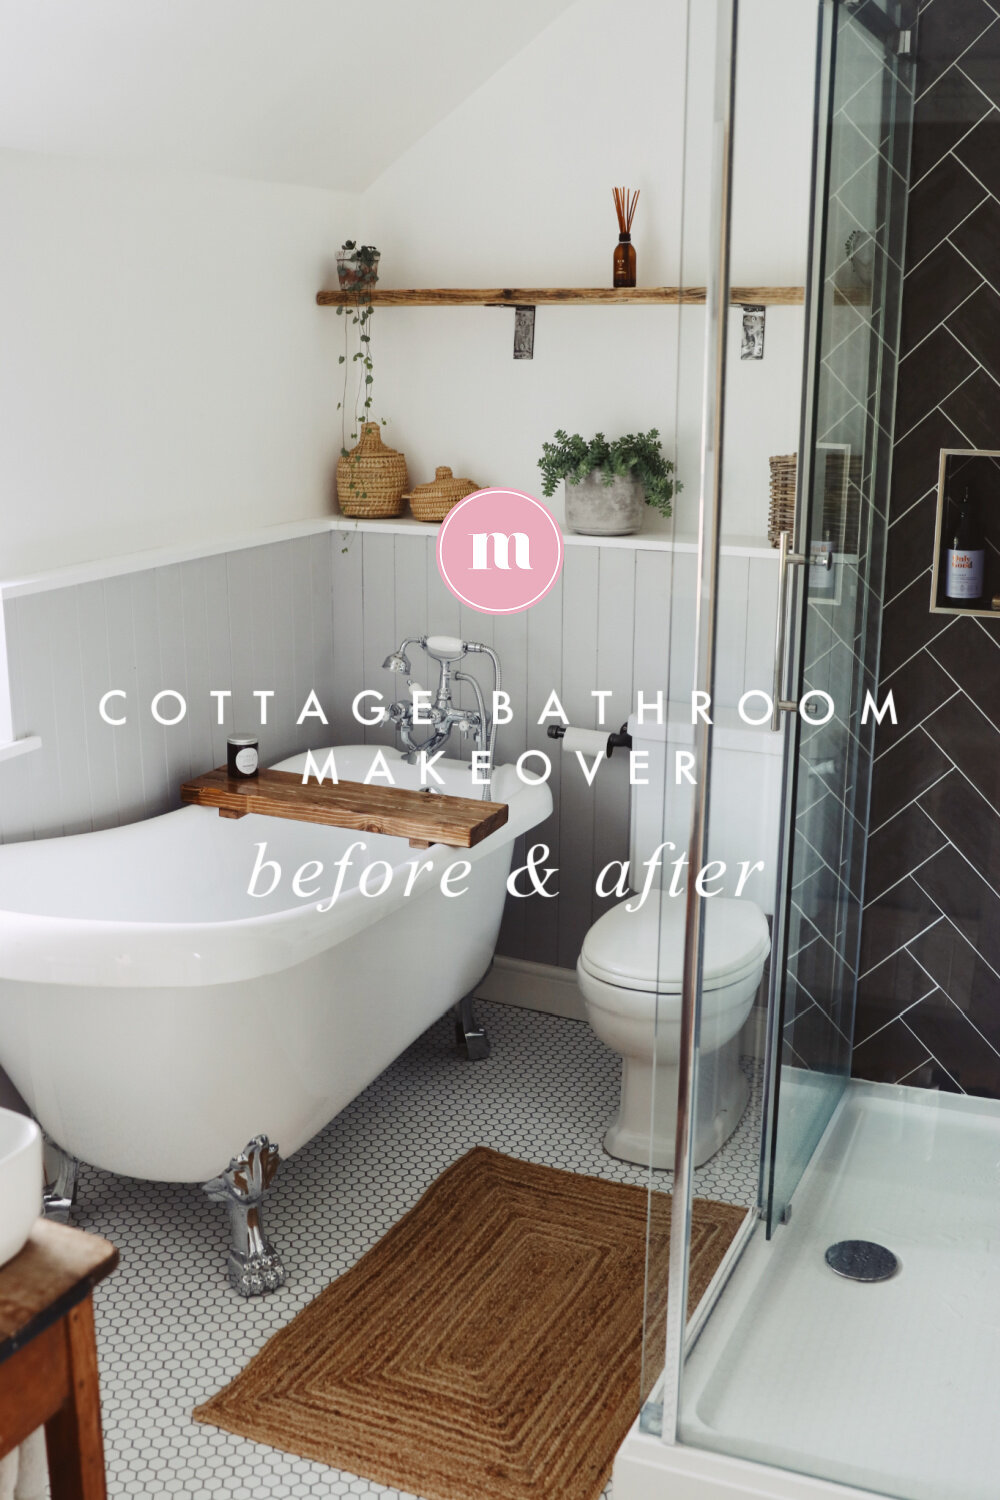
17th Century English Cottage Bathroom Makeover | Before & After
When we moved into our house, we knew the bathroom would be one of the first renovations we got our teeth stuck into. It was quite the journey, but 8 months after moving in, we finally have our dream bathroom! You can watch the full transformation video linked at the bottom of this blog post to watch the entire process, but I thought I’d also write down the details for each room we make over (stayed tuned for hopefully our master bedroom next!). All the items available online are linked at the bottom of this blog post.

When we first moved in, the upstairs was made up of four bedrooms, with an en-suite in the master. The en-suite was small, dingy and had a saniflo toilet that was less than ideal in the middle of the night. It was a struggle to shower or even clean your teeth in such a small bathroom. So we knew from the start that we had to do something about it. Our plans constantly changed, as they always do with any renovation. Originally we were going to move the en-suite across, so that there was access to the bathroom from the hallway. But we soon realised that the bathroom would still be very small, and not a great use of space. A lot of my amazing viewers suggested we make one of the bedrooms into a bathroom. We had previously had this idea but dismissed it, but after hearing this perspective from others, we realised it was the best option. The size of our little cottage doesn’t need four small bedrooms, but it could really benefit from a larger master, and a decent sized bathroom.


The bedroom next door to the master was very small and would struggle to fit a bed, so it was the perfect space for our new bathroom! We begun by ripping out the en-suite from the master bedroom, tearing up the carpets and planning where everything would go. We had dreams of cleaning up the floorboards in the bathroom (and the rest of the rooms upstairs), but were only able to salvage two of the rooms. So tiles it was! You can see the removal of our en-suite and the entire floorboard disaster story in the renovation videos linked below.
Once we knew what we were doing, we started looking for the pieces for our bathroom, and planning where everything would go. I highly recommend drawing every different arrangement possible for a new bathroom, as I think we changed our minds a hundred times before reaching the perfect design. I got so much inspiration from Pinterest, and I really thought long and hard about all the colour schemes, textures and patterns I wanted in the bathroom. I realised I favoured chrome traditional fittings, grey cool tones with natural wood finishes.
I spent my mornings and evenings scrolling online, and managed to score so many amazing pieces for our bathroom secondhand at amazing prices. We first picked up the free-standing bath from Gumtree (£90) which I was so happy with as they are not cheap new! We then got everything together for our sink basin from facebook marketplace, including our sink (£20) and tap (£20) which were both still new in their boxes, and an old school desk (£12). I love that we thought outside fo the box for the sink, from the desk to the kitchen-style tap, because it is one of my favourite parts of the bathroom.


The shower unit we were lucky to find on facebook again at a hugely reduced price of £150, when it was still online for over double that price. We ended up getting the floor and shower tiles from Walls and Floors, and the shower enclosure and tray from the Plumbworld eBay account which also saved us some money ! We were so keen on getting a frameless shower so hunted and hunted for a more affordable option than the ones we were seeing everywhere. Turns out that many big brands have eBay accounts for items at a reduced price and we got very lucky with our beautiful glass frameless shower.
The plumber had to fit the bathroom from nothing, so extra costs were needed. This is why we were so keen to save elsewhere and spent the time hunting for things secondhand. On top of that I was so adamant that I would look for as much as I could secondhand or reclaimed when we begun this project, to be more environmentally friendly. Everyone is always doing up their home, so you’d be surprised what gems you can find!

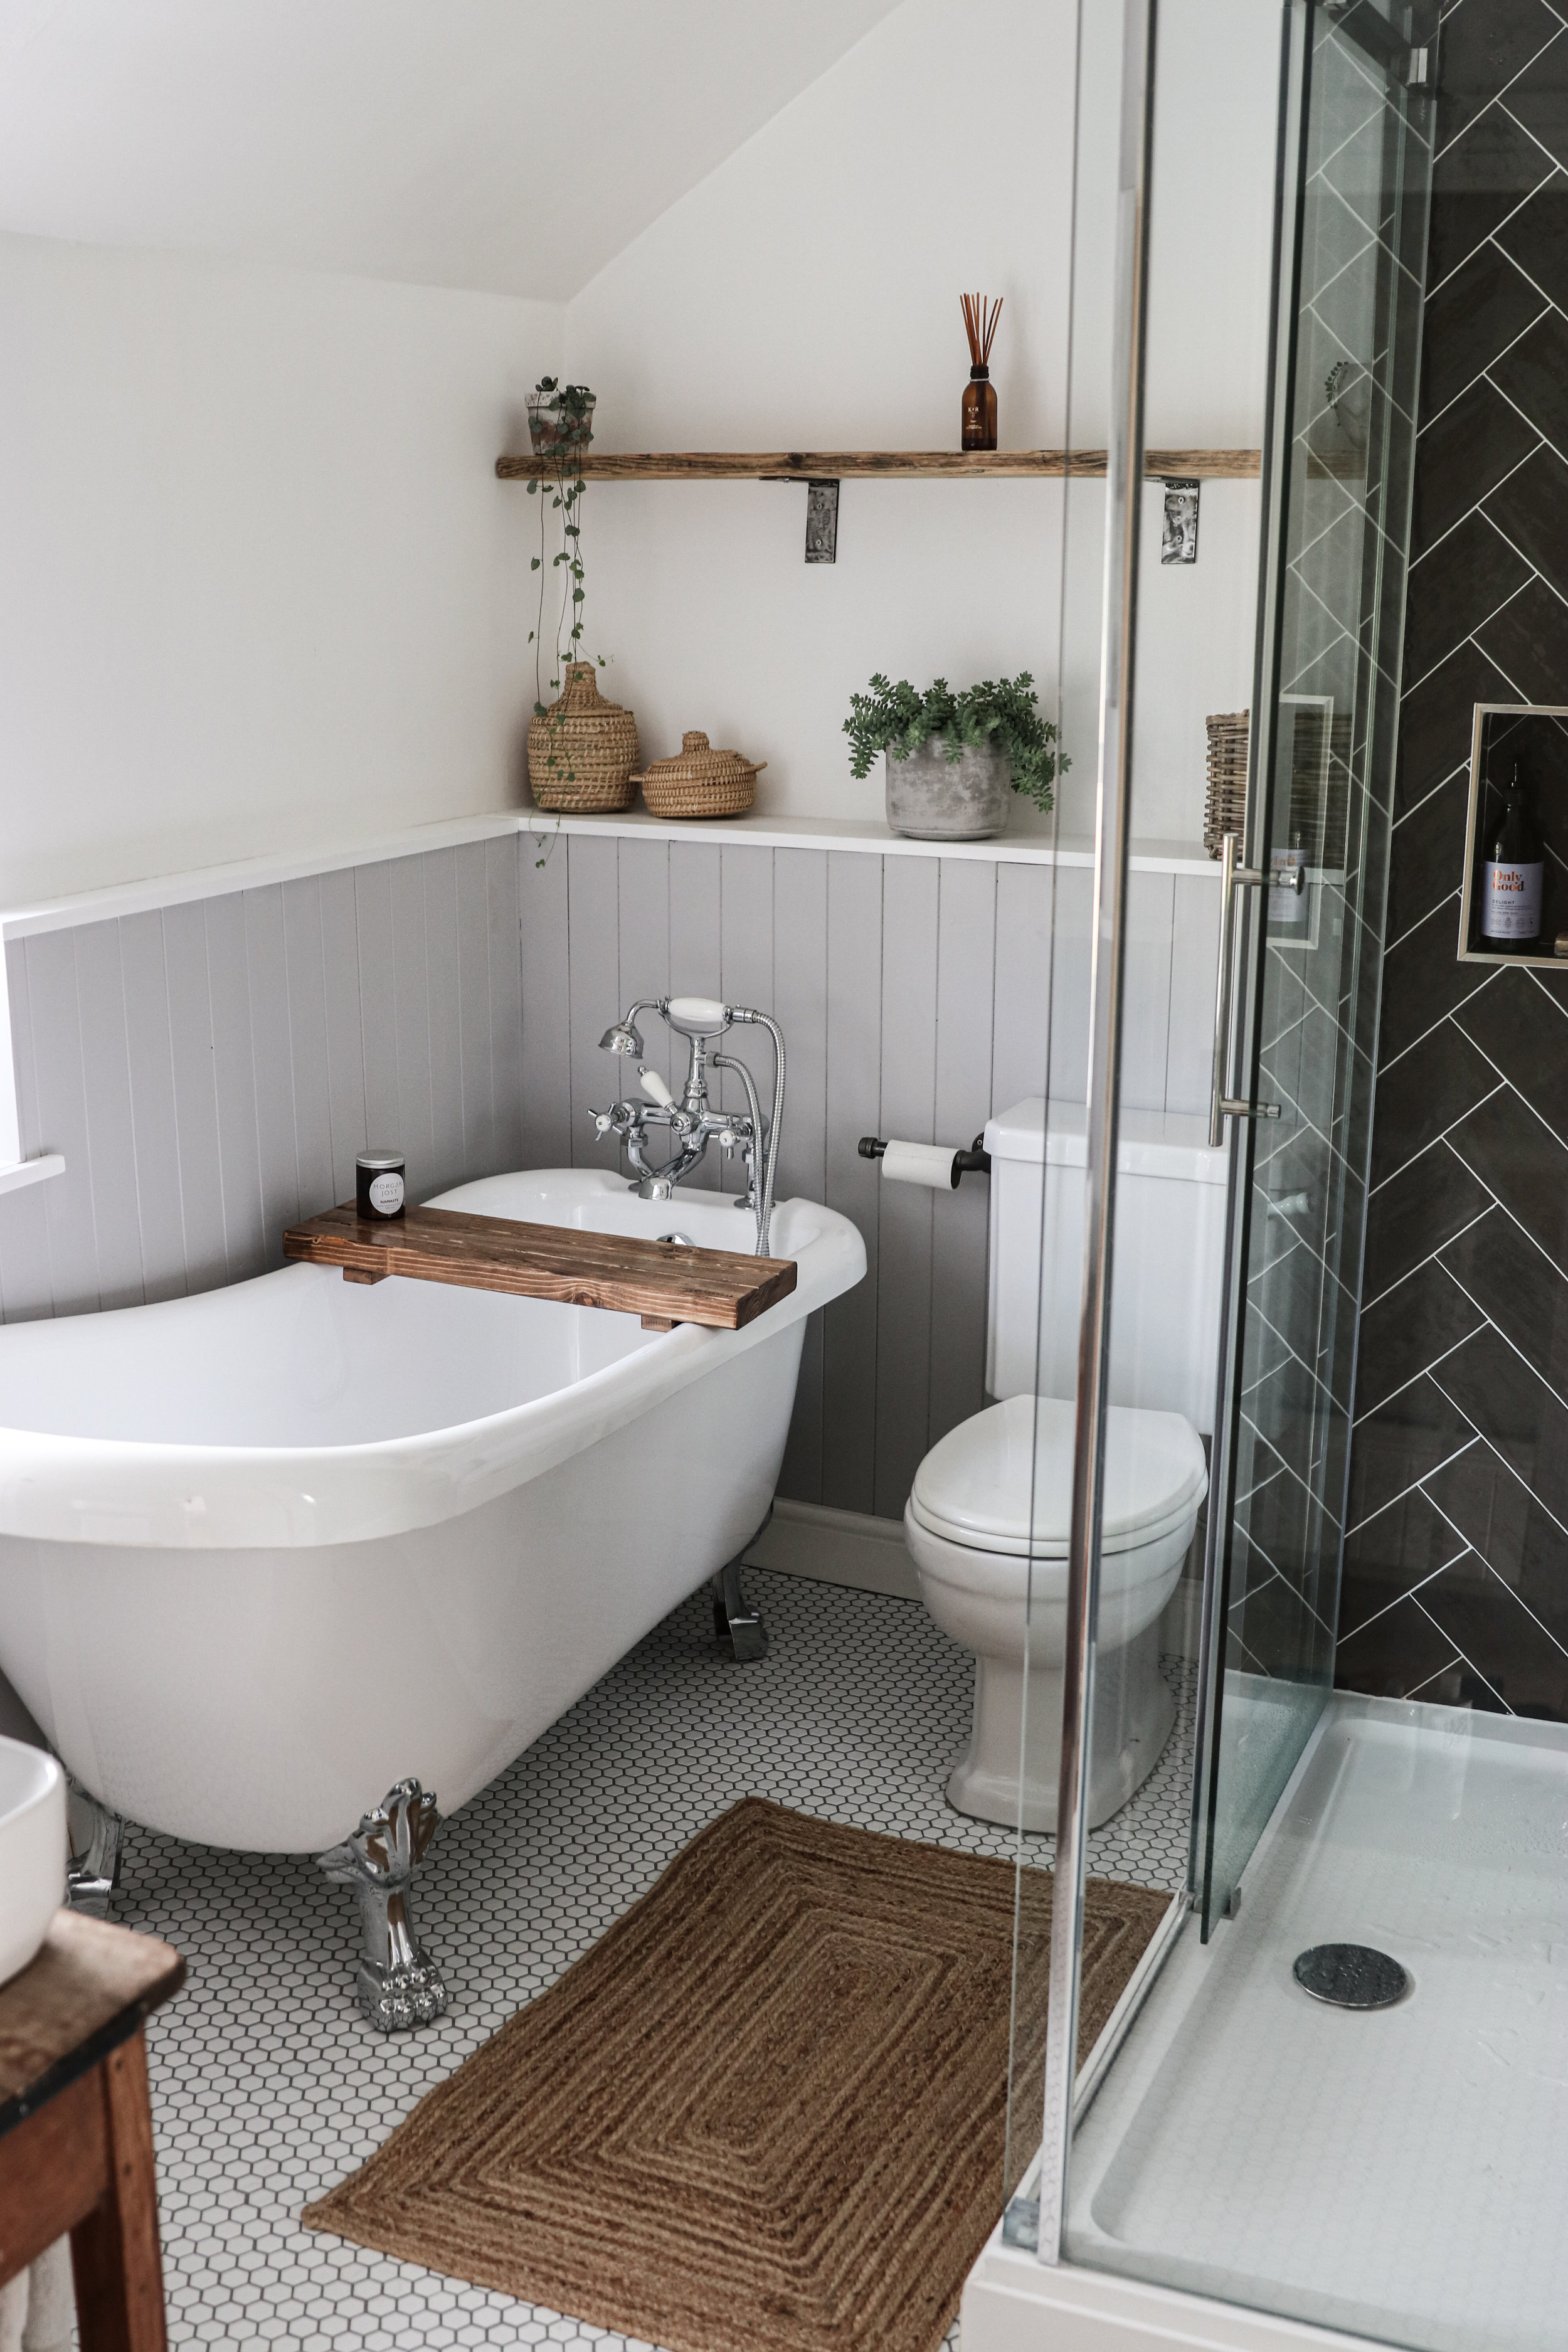
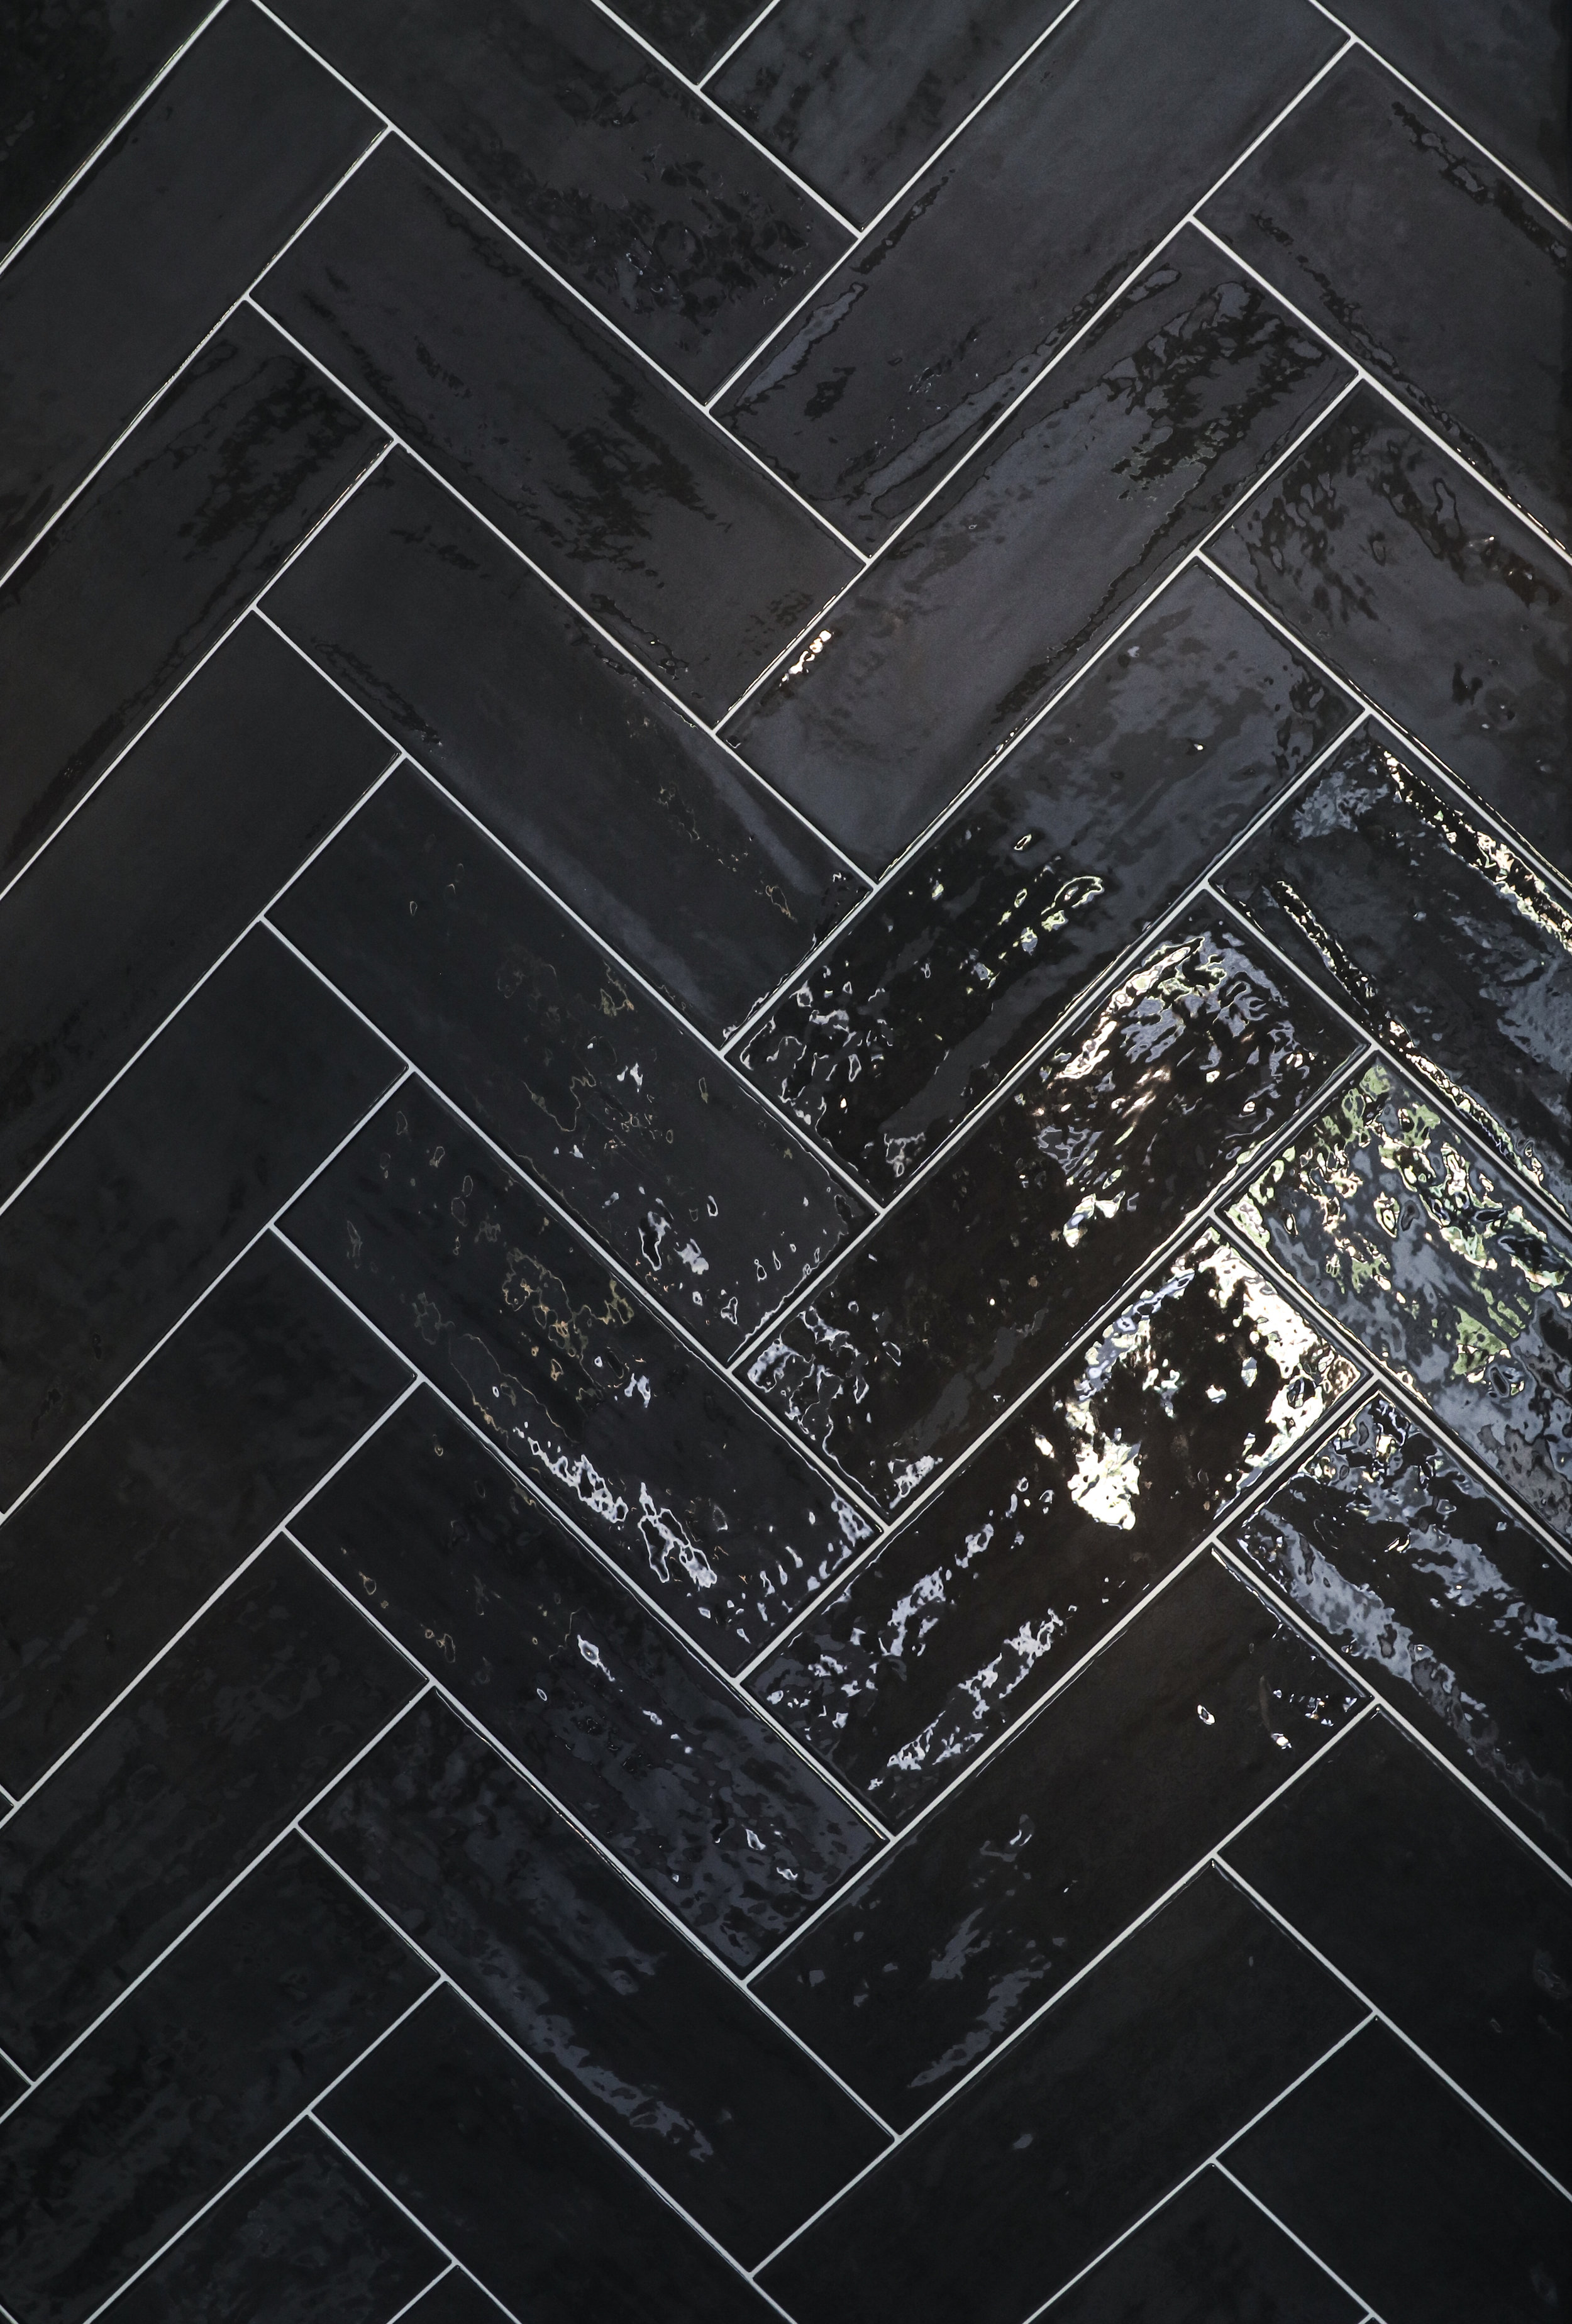
We opted for herringbone subway dark grey tiles in the shower (the herringbone pattern was an extra cost), and they ended up looking so beautiful. Going with dark grey felt like a risk as white was the safe option, but I am so happy we braved it as they turned out so beautifully and add so much dimension to the room. We asked the builder to include a small recess too for storage in the shower which I love (kinda wish I had asked for two of them!). We also fitted tongue and grove panelling to hide all of the pipes. Our house is so old there wasn’t enough space between the floorboards and ceiling to fit the pipes under the floors. The panelling ties beautifully in with our cottage, and also provides an extra shelf all around the edge of the room! Our amazing builder also fitted a beautiful cupboard in the corner next to our sink, as our house is so lacking in storage. This has been perfect for storing all of ur toiletries, linens, towels and cleaning products.
Above the sink we put up a mirrored cabinet for all of our day-to-day toiletries, which fits so perfectly. I love the look of circle mirrors in bathrooms, but knew that I’d value the extra storage a lot more! Behind the door we also put in a very large towel rail (600x1800), which the plumber recommended, and I am so happy with. We can hang so many towels on there!


We painted the panelling in a grey bathroom paint from Crown called Linen Cupboard, and the walls in a brilliant white bathroom paint from Dulux (which I wouldn’t recommend - very streaky and took many layers). I didn’t want anything to distract from the bathroom fittings so kept with a neutral and cool colour palette.
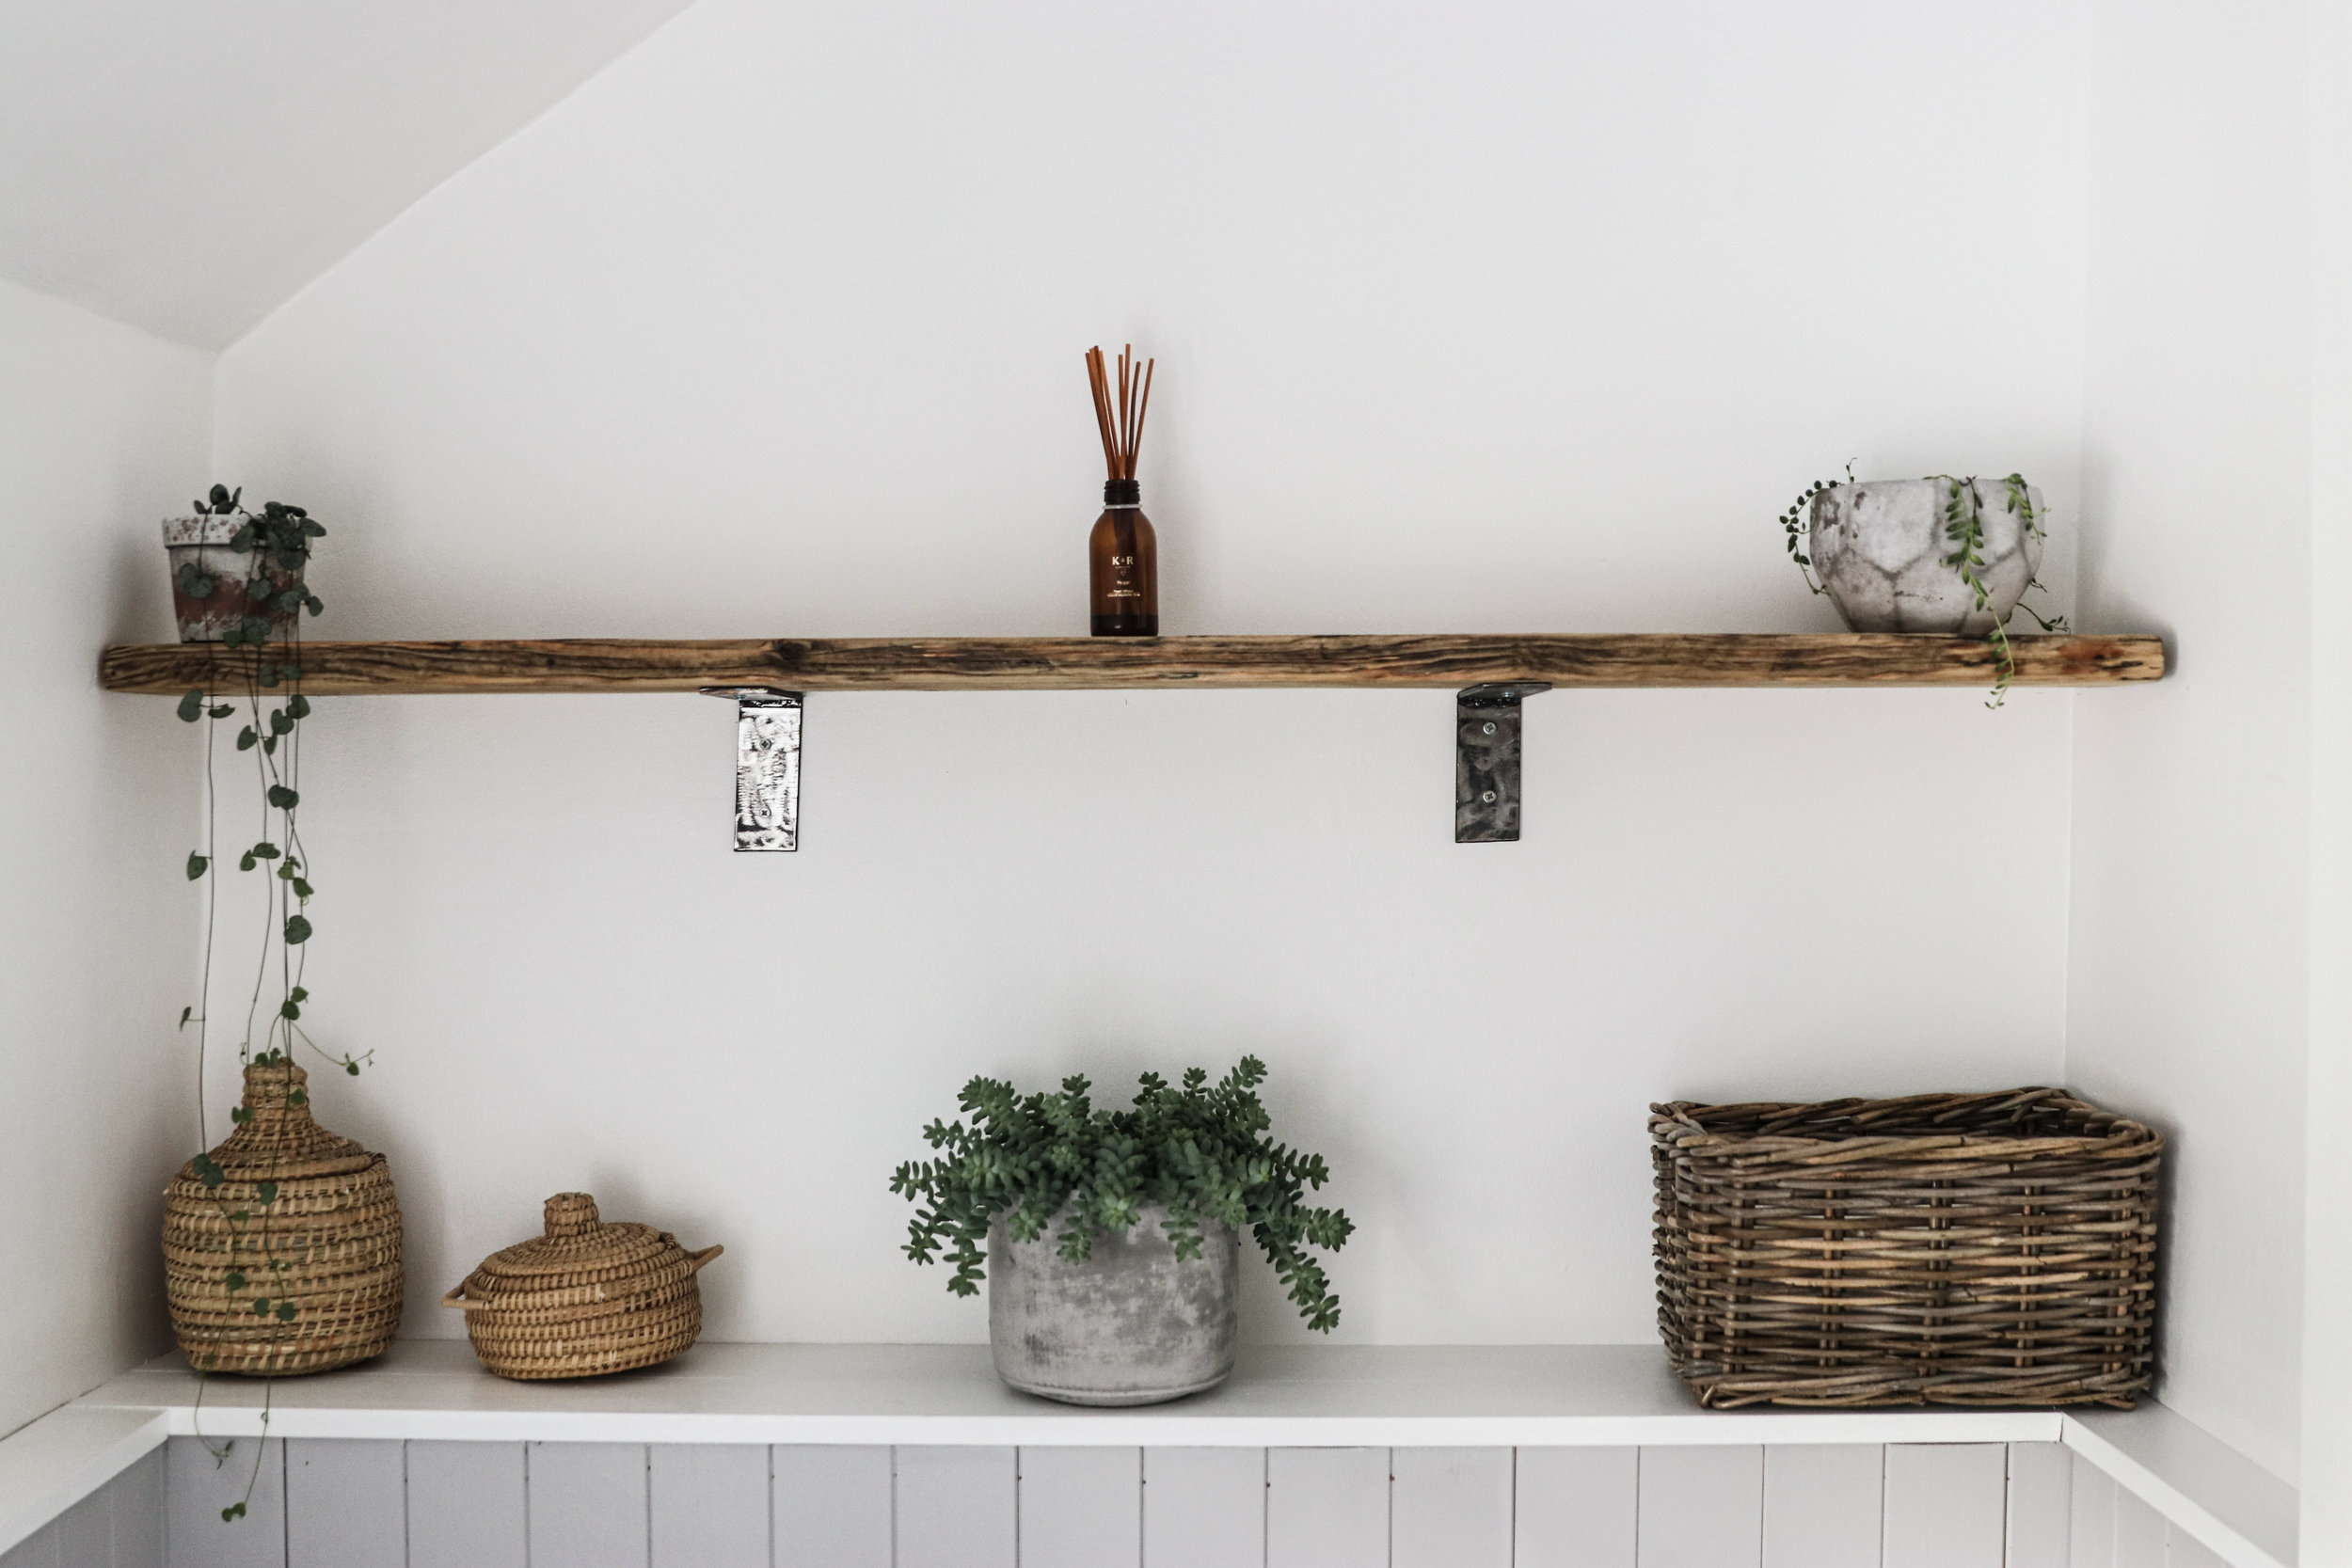
The finishing touches came in a beautiful reclaimed shelf that I also found locally on facebook. He makes them to measure, and also provides the brackets which look amazing. We decorated the shelving area behind the toilet and bath with some baskets we got in Morocco in January, as well as some beautiful succulents. We used industrial looking finishes to offset all of the traditional fittings, such as the toilet roll holder and towel rail, which we picked up on Etsy. We also got a beautiful bath caddy from Etsy which is perfect for our freestanding bath to store things such as candles, soap or a glass of wine when soaking in the bath. We got some wicker storage baskets and a jute rug from Amazon, simply because we had no luck finding these locally or secondhand. We also picked up a beautiful wooden toilet brush at a shop called Willow and Stone in Falmouth (the dreamiest of shops) that I am more excited for that I should admit.

I couldn’t be happier with how the bathroom turned out, and although it took a lot longer than expected, the final result is incredible. From start to finish the fitting of the bathroom took a month, due to delays with organising builders and plumbers, as well as going away on holiday. After they finished their job we got on with painting and all of the finishing touches, which really finished everything off beautifully! I feel so grateful that our first project turned out better than I could have imagined, and I just can’t wait for the rest of the upstairs to be finished. This was our first big expense so we learned many lessons that we will take with us when doing our biggest project of the entire house: the kitchen. Let me know if you have any questions about the bathroom and our experience.
Our lovely builder and carpenter Craig // https://www.checkatrade.com/Hicroft
(Everything not listed below we got secondhand or locally to us)
Floor tiles // https://bit.ly/2VS0E4b
Shower tiles // https://bit.ly/2TEpdl4
Shower enclosure and tray // https://bit.ly/2YSHGQB
Rug // https://amzn.to/31K4z5Y
Wicker baskets // https://amzn.to/2N7k9V9
Mirrored cabinet // https://amzn.to/2Z6X5MC
Bath caddy // https://etsy.me/2Z9xwXc
Toilet roll holder // https://etsy.me/2KOEfRk
Towel rail // https://etsy.me/2OYxcL6
Heated towel rail // https://bit.ly/2H9k4wo
Light // https://bit.ly/2P0O0RL